
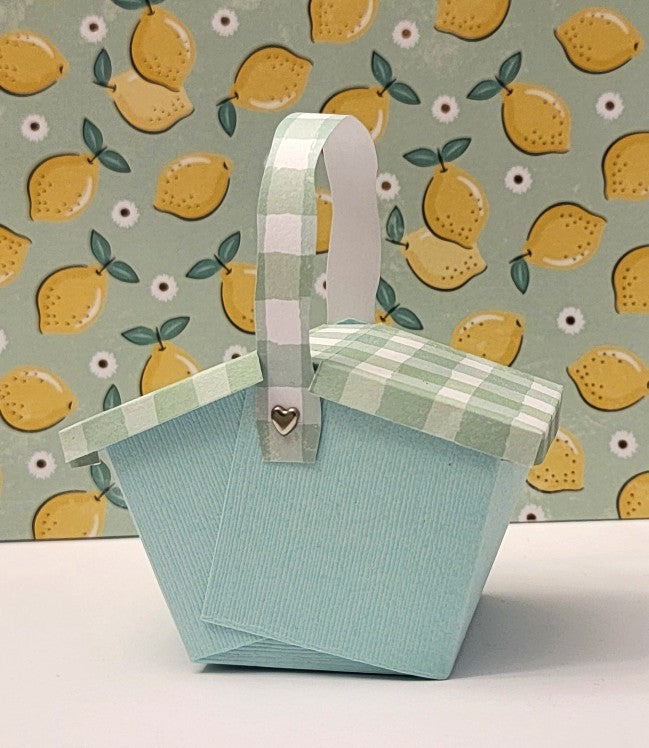
Tip Me Tuesday: Picnic Basket
Happy Tip Me Tuesday, friends! It's Joni here, with a tutorial on a cute picnic basket that I saw online. I scrolled for the measurements (there were none listed), but decided that it seemed pretty standard for any paper crafter who has dabbled with 3d projects. This basket would pair perfectly with any TGF images, especially Fine Day Anya:

Forgive my rough tutorial! I took photos initially, but the card stock was so light that it was hard to see the details. I created images digitally for clarification.
First, start off with a 6x6 paper, then score at every 2 inches:
Cut the dotted lines marked with the Xs but keep the flaps attached:

Next, fold everything inward, overlapping the sides so they form a peak, then secure with your favorite adhesive. I don't have a photo, but you can trim the peak so it's a straight line:
Put that to the side, and cut out a coordinating piece that measures 2.5" x 4.5"
This will be your picnic basket lid! I chose a gingham printed one:
Score at .25 inches on all edges, and then at the 2 and 2.5 inch mark, which is where the lid folds:
Cut at the Xs in red. I just noticed I only indicated one side, but repeat exactly on the other side as well. Keep all parts attached:

Fold everything inwards, and adhere just the ends tucked into the outer flaps:

Finally, cut a strip of paper for your handle. It can be whatever length you desire, but be sure to allow a little room for where it attaches to the basket. I added a heart brad just to keep it secure:

The lid can open on either side:
And there you have it! Thank you for sticking around for this little technique. The basket is sturdy enough to hold small candies or toys, and would be an easy treat to make for a birthday party. Have a wonderful day, happy Tuesday!
xoxoxox
Joni


