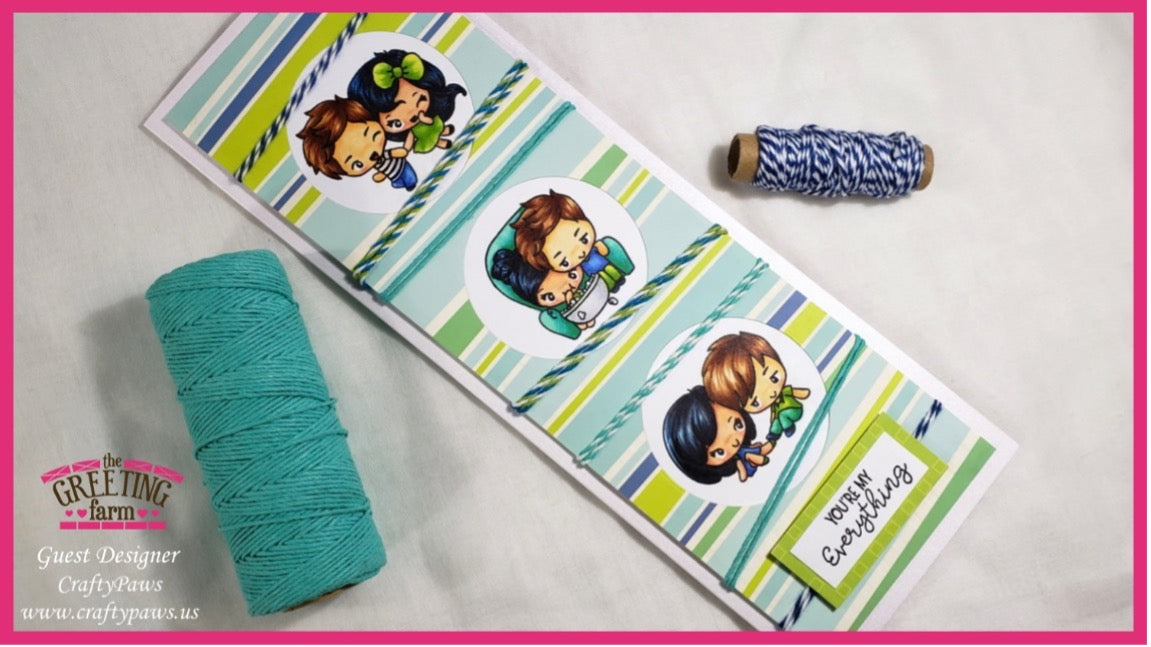
How to Make a Slimline Card - No Special Dies Needed!
Hello friends! Kristina, aka Kristina Crafty Paws, is back with another process video sharing how she makes a Slimline Card with no special dies! If you've always wanted to make a slimline card but do not have the die cuts, check out her video! Below you'll also find a written tutorial from Kristina. Enjoy and please show her some love! We love having her as a Guest and hope she could come back and share her awesome tutorials with us!
Kristina CraftyPaws here with my second guest designer project for The Greeting Farm. This time I decided to jump on the slimline card band wagon and crafted an over-sized anniversary card for Mr. CraftyPaws using three adorable couples from the #couplegoals and Forever With You stamp sets.
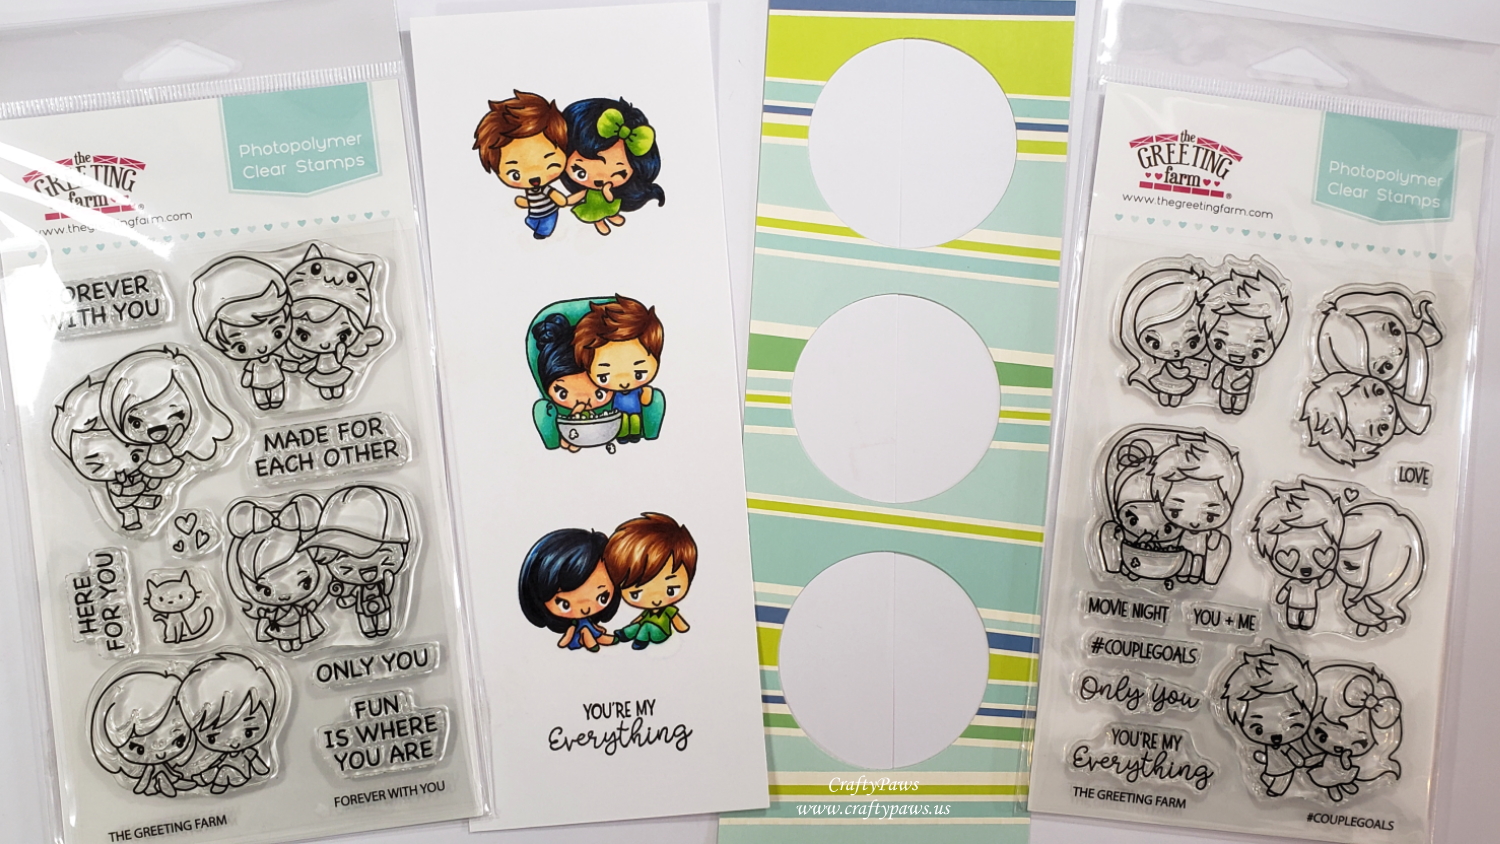
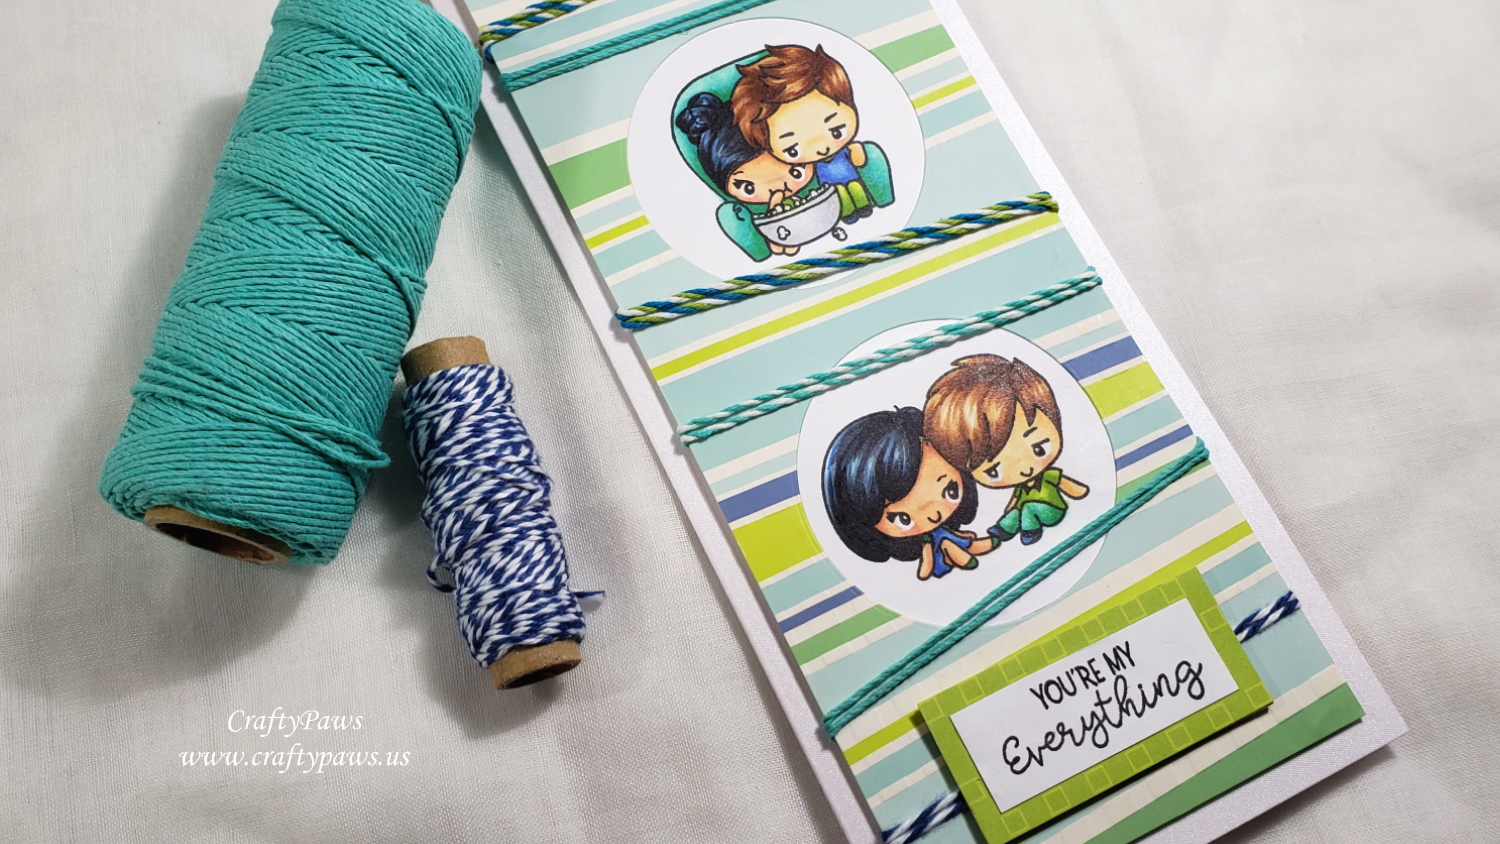
Without using any specialty slimline dies, I was able to make a slimline card from a 10.25" x 3.25" scrap of patterned cardstock (this could be shorter for a standard slimline card, but I wanted to make mine oversized). I used a 2.25" diameter circle die and cut 3 circles from the patterned cardstock with the centers of the circles at 2.25", 5", and 7.75" (watch the video below to see the measurements and tips for how to easily and perfectly die cut this design).
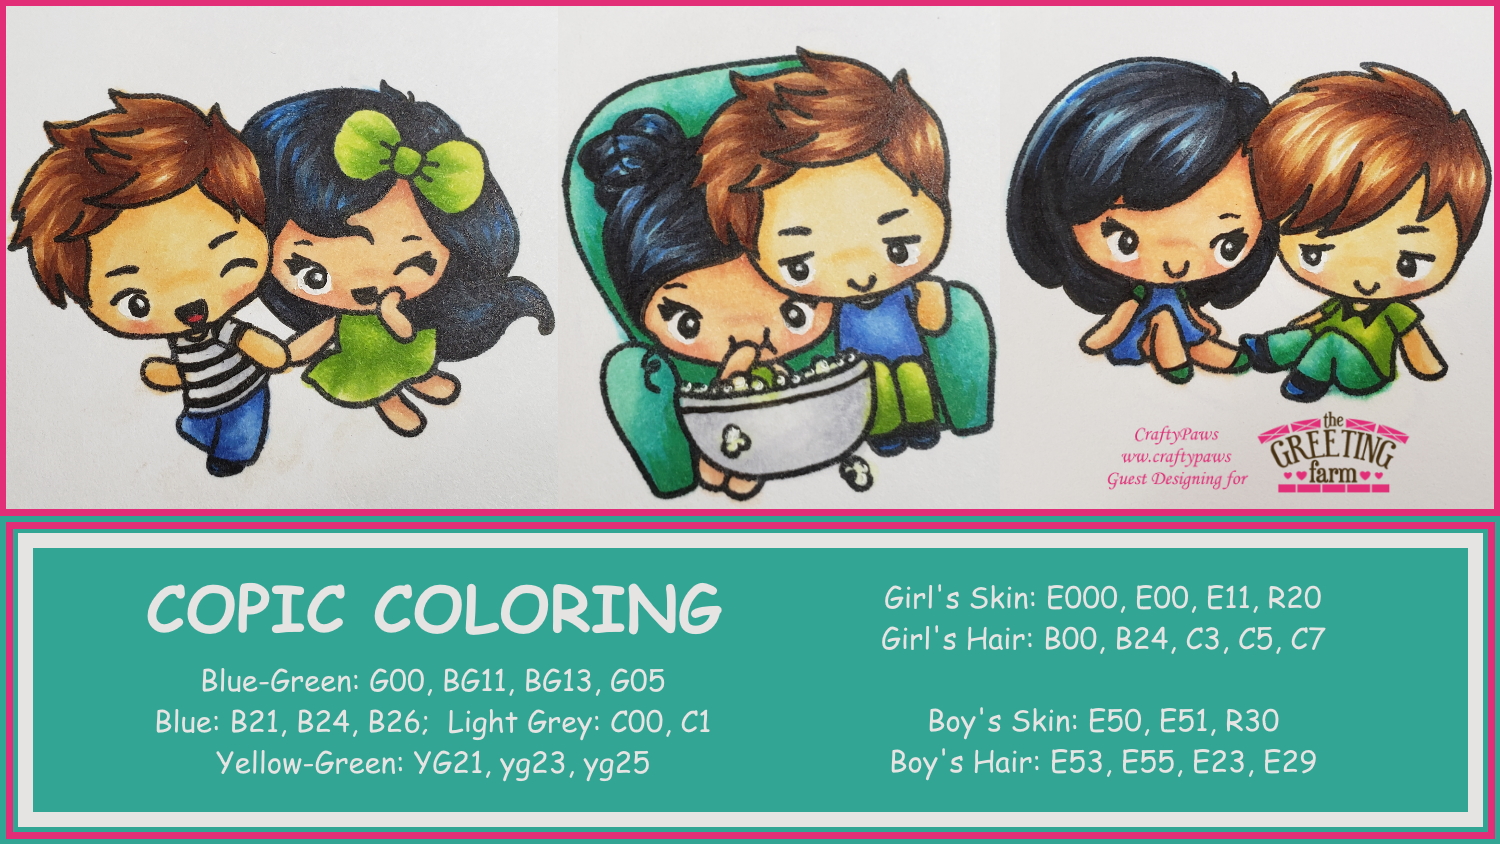
I Copic colored three images that I thought represented some of our favorite simple things that Mr. CraftyPaws and I do together: go for walks, watch television in the evenings, and sit and have long chats. The colors I chose were inspired by the patterned cardstock I used, and these are the Copic colors:
I Copic colored three images that I thought represented some of our favorite simple things that Mr. CraftyPaws and I do together: go for walks, watch television in the evenings, and sit and have long chats. The colors I chose were inspired by the patterned cardstock I used, and these are the Copic colors:
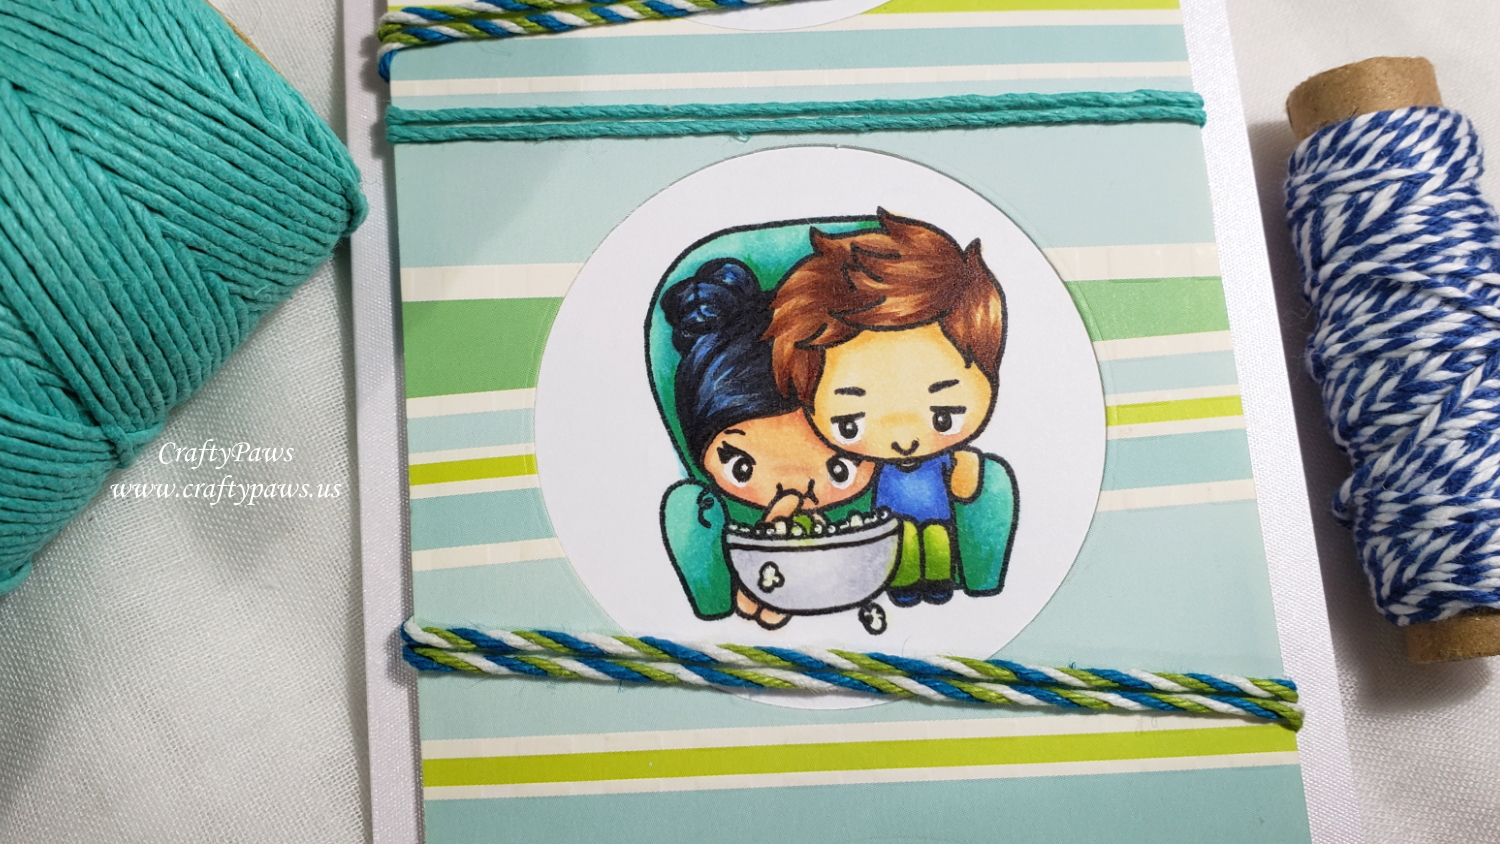
I had stamped out all the images on one long piece of white card stock, so I cut these apart to fit behind each of the circle openings. When I realized the area around one of the images was not large enough to fill a circle window--I was upset. I took a deep breath and convinced myself to not throw away the colored image and just keep going with it. I patched the gap with a scrap of more white card stock from behind, and I took a break from card making to mull over how to fix this mistake.
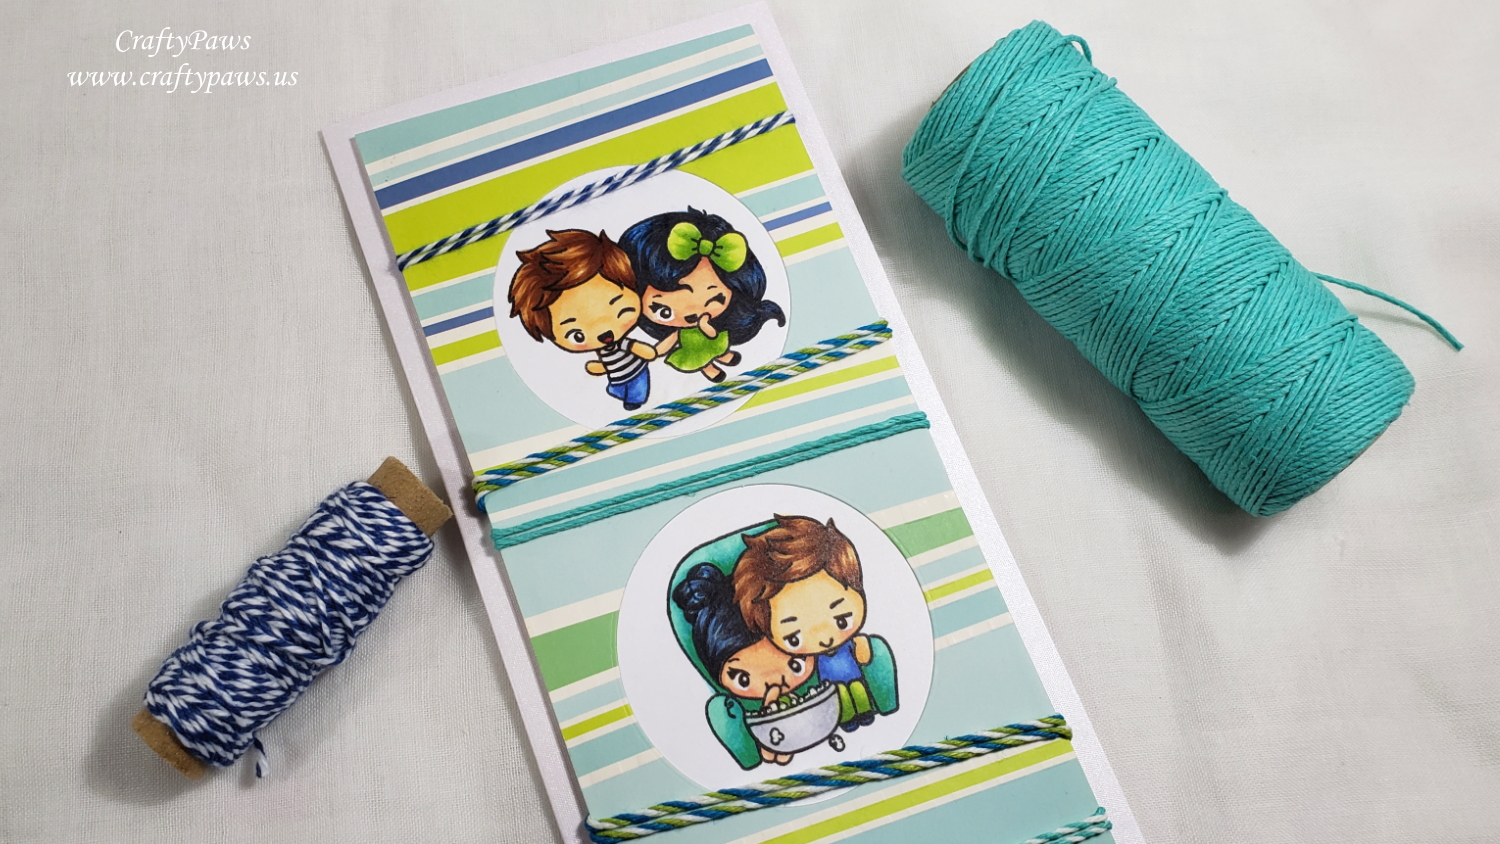
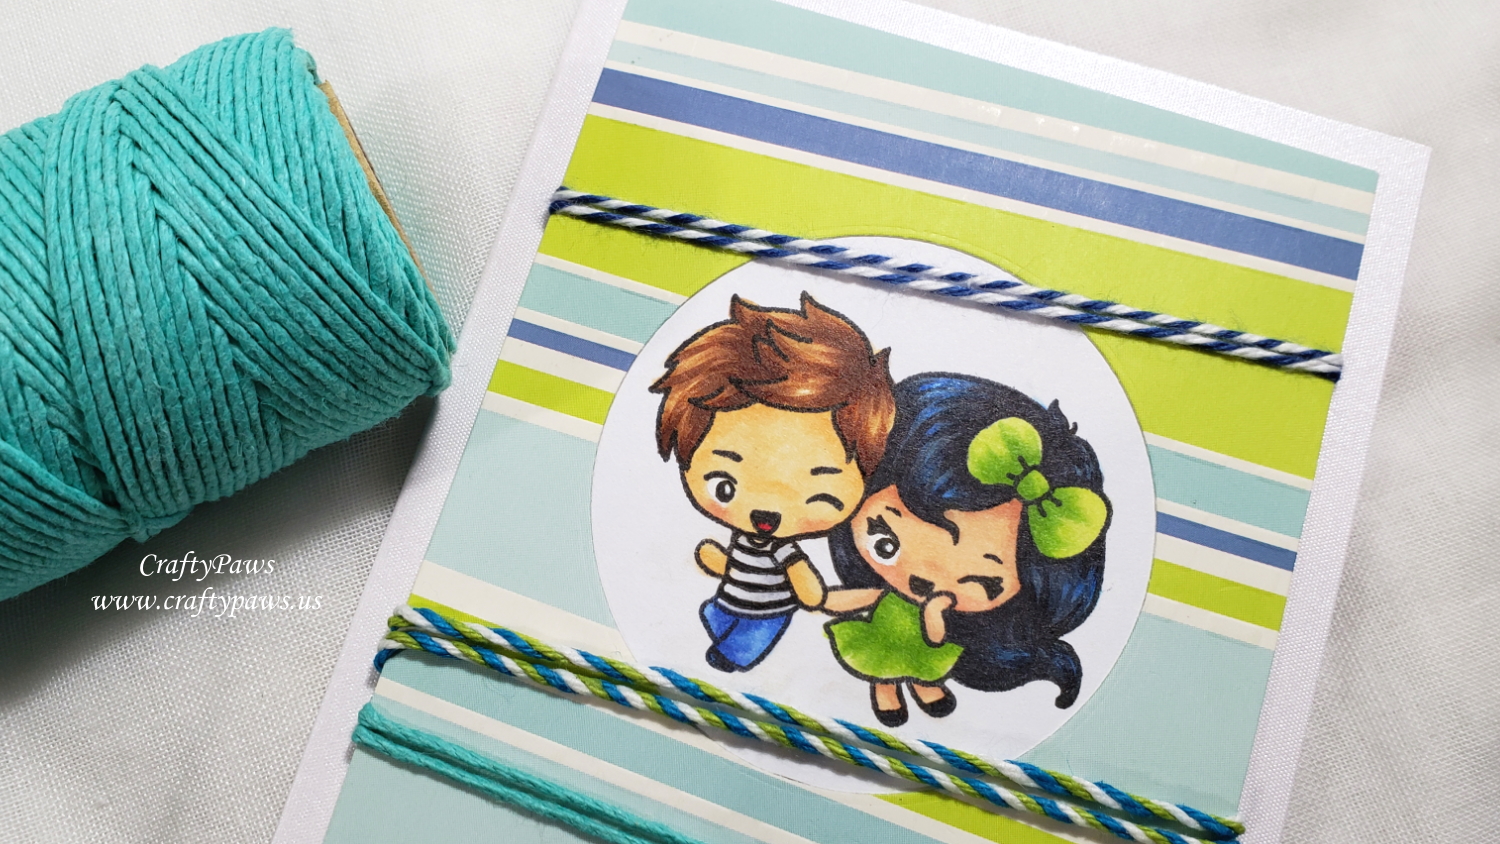
When I got back to my craft room, I was reinvigorated! Again I was inspired by the modern striped pattern of the card stock. I decided I could add different coordinating colors of twine to not only cover up my mistake but also add some fun texture and interest! In my twine hoard (whenever I get anything wrapped with a bit of twine, I save it, and when the Dollar Tree sold baker's twine, I bought a bunch), I found a pretty teal twine; a navy and white baker's twine; a lime green, turquoise and white baker's twine scrap; and a teal and white scrap of baker's twine. I took lengths of each type of twine and wrapped the card front with double rows of the twine. I taped down the ends to the backside of the card front, and I alternated the placement angles and distances of the twine rows, mimicking the striped pattern of the card stock.
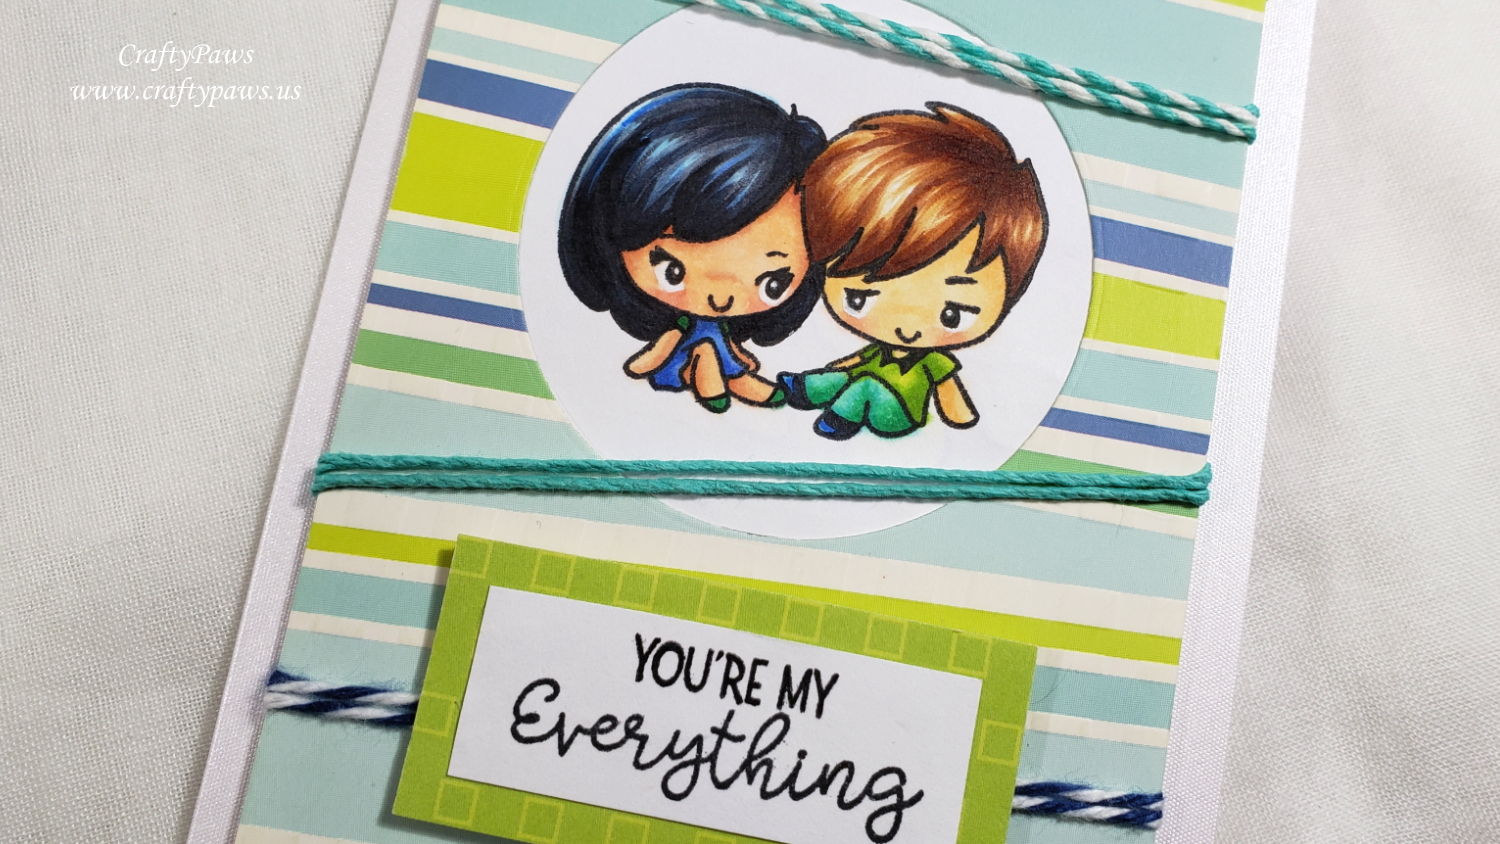
To ensure that the card front was well supported and level when adhered to the card base, I used a bunch of foam dots on the backside of the card front all around the taped-on twine. I also matted the sentiment, "You're My Everything" (from the #couplegoals stamp set) with another lime green patterned paper scrap and popped that up on foam dots toward the bottom of the card front.
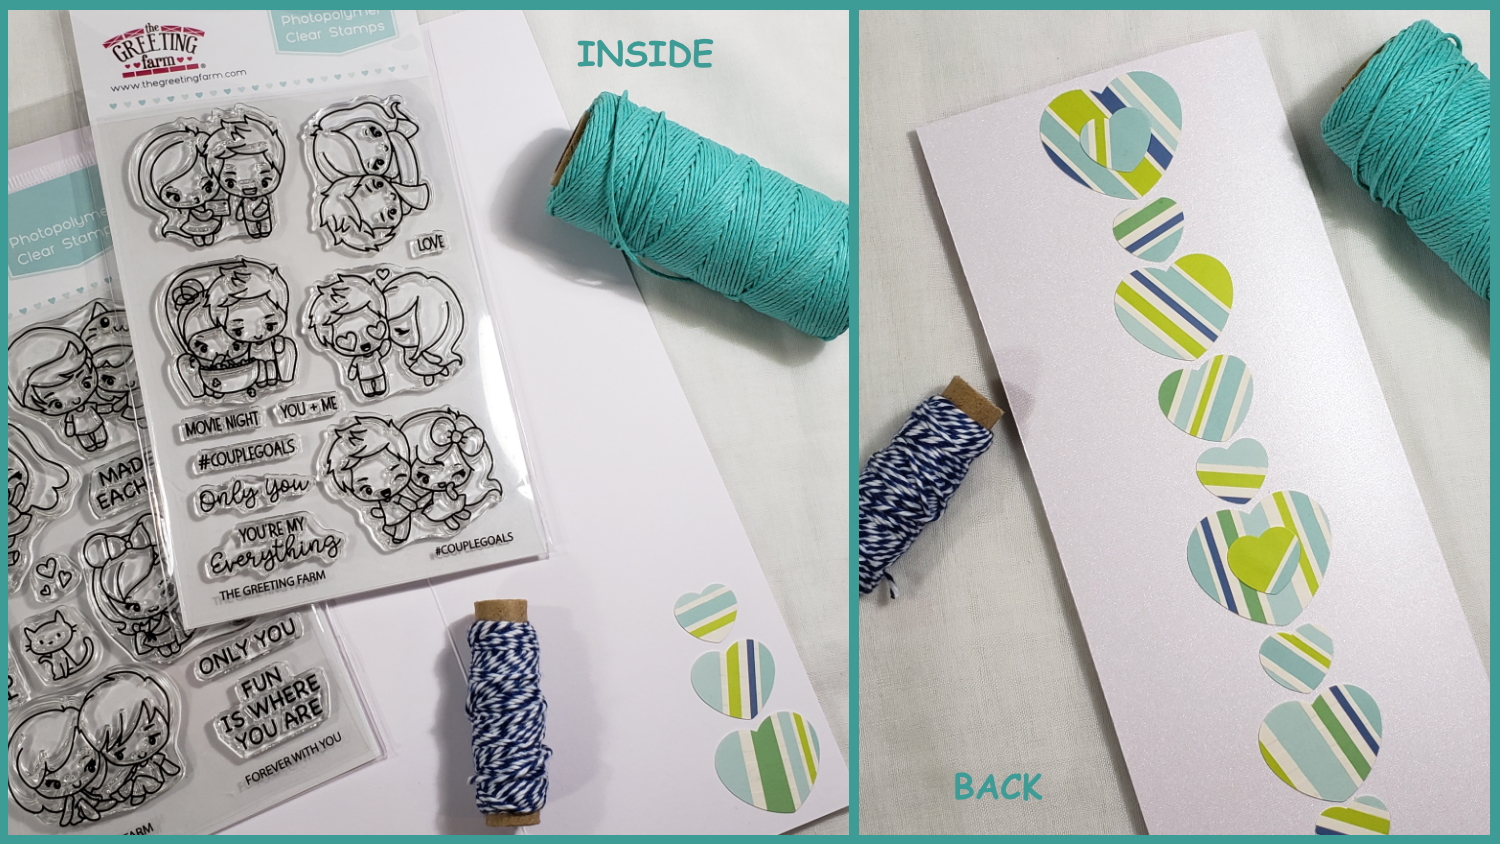
Then, because I am not one to miss an opportunity to use up scraps, I took a couple of old Creative Memories heart punches and punched out a bunch of hearts from the left over scraps of the patterned card stock. If Mr. CraftyPaws wasn't so anti-confetti, I could have just tucked them into the card, but given his strong feelings, I decided to use the hearts to embellish the inside and back side of the card. I thought they added a nice finishing touch.
You can view the video on our YouTube channel here (click on "here").
We can't thank Kristina enough for her guest spot, and we hope you enjoyed her video as much as we do! Have a great week, everyone!

Comments
Meghan Kennihan said:
The coloring is amazing and I LOVE how you used the twine!!!
Sharon Gullikson said:
What a good reminder. We don’t need every single thing that comes out. We can make do….THANK YOU!!!! By the way, these kids are just adorable!
Sue D said:
Cute card design. I like the no dies used and the addition of the hearts.